I’m going to be traveling to Portland OR later this month and what to do some rides on my TiAero.
So I’m packing it up into a Sports Tube Series 3 which I purchased on Amazon for $199 dollars.
NOTE: These instructions include documenting my mistakes. Make sure to view all the pictures and read all the comments so that you don’t make the same mistakes - it will save you a lot of time.
The main goal to to leave all the cabling intact.
The page is divided into a few sections:
| TiAero into a Sports Tube | |
|---|---|
| Pre-disassembly | Take pictures of everything on the bike first. Specifically, chain routing, cable routing. |
| Starting out | Empty Sports Tube in front of the bike. |
| Remove chain | The messiest part of the whole job. |
| Remove Accessories | Pull easy stuff off the bike
|
| Remove seat | Prior owner modified the seat. |
| Easy stuff gone | The frame will all the easy stuff removed. |
| Removing handlebars | Handlebars are tricky with the BFT. |
| Removing rear derailleur | Tape to frame to protect from damage. |
| Trial fitting (wrong) | Trial fit into the Sports Tube top. |
| Removing the front fork | Easy to do with the Bacchetta Fine Tune (BFT) System. |
| Disassembly complete | Everything off the bike, taped and bubble wrapped to frame. |
| Removing the front fork | Easy to do with the Bacchetta Fine Tune (BFT) System. |
| Disassembly complete | Everything taped and bubble wrapped to frame. |
| Trial fit bottom tube (correct) | Put into the bottom tube first. |
| Accessories | Start cramming other stuff into the tube you will need. |
| Packed up and ready to go | Except the wheels and seat. |
Pre-disassembly
I’m not very good when disassembling and assembling stuff - I always seem to have parts left over. Probably not a good thing with a bicycle. So here I’m documenting everything for two reasons: 1) so that I can get the bicycle back together correctly once I arrive at Portland, and 2) so that I can put the bicycle back into the Sports Tube when returning from Portland.
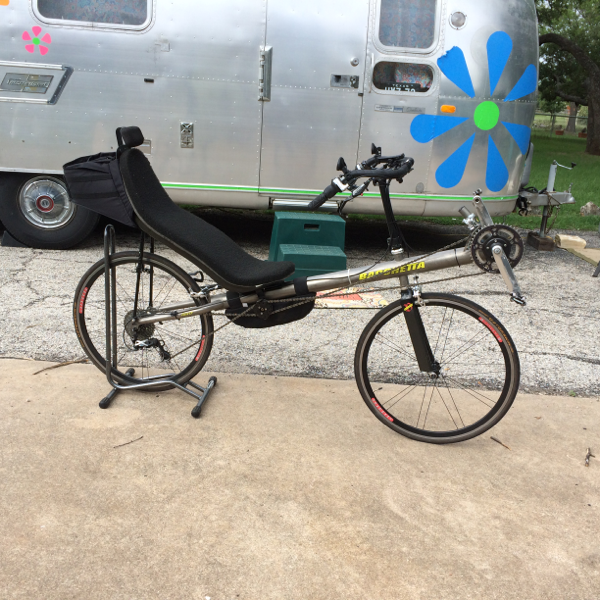


Starting out
Empty Sports Tube next to the bike.
This is a Series 3 Sports Tube. You need the Series 3 height and width so that the handle bars will fit.

Removing chain
Remove the front wheel. Find the quicklink on the chain and remove it. Put the chain into a plastic baggy.
Set all the tools you use aside. You will need to put them into the Sports Tube before closing it up. You will need them to reassemble the bike at your destination.


Remove Accessories
Now we start removing all the easy stuff from the bike.
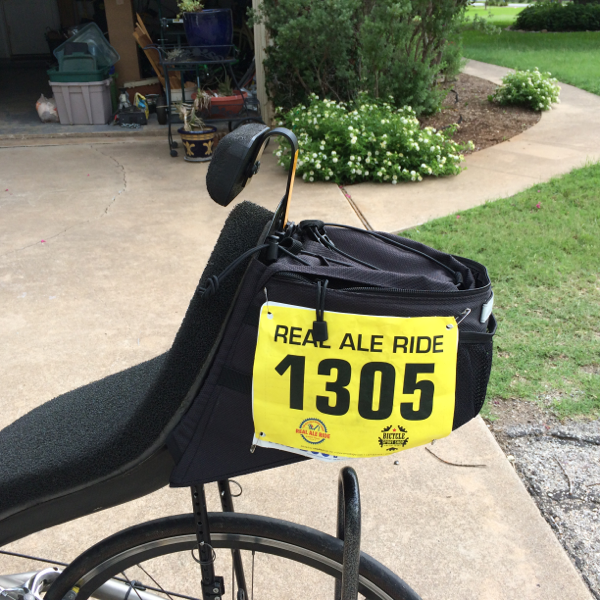
The frame bag.

The headrest. Pull the plastic tab below the yellow reflector away from the seat and slide out the headrest.

Remove the water bottle holder on the left side of the bike. In general anytime you pull something off the bike put the screws back in where they came from so that they are easy to find and use when putting the bike back together.


Removing the seat
Remove the 2 inch foam seat pad (held on with velcro). Remove the carbon seat.

I got this TiAero used and the previous owner drilled a couple of extra seat holes in the front of the carbon seat.
Probably because when you use the original holes and recline the seat as far back as possible the front of the carbon seat tends to dig into your hamstrings.
I have played around with various seat positions and like the way it is currently configured.

After removing the removing the nuts and bolts on the seat bottom put them back on the seat along with the rubber cushion spacers. I put a tie wrap in the hole were the seat was anchored.

I have purchased these joiners to use on the back seat stays instead of the cotter pins that come normally. Now I just have to loosen the top bolt and pull the seat up and out. The joiners stay in place and remember where I had the seat back angle set.

I folded the bottom seat stays down to be as close to the frame as possible.

Easy stuff gone
Picture of what has been done so far.

All the stuff removed so far from the bike.

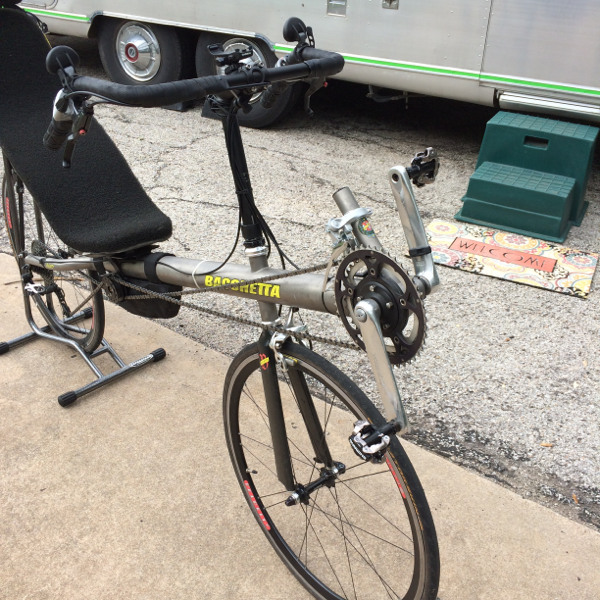
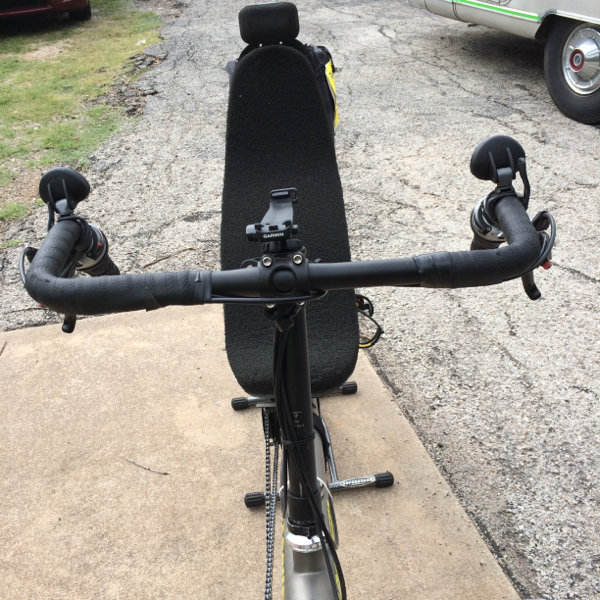
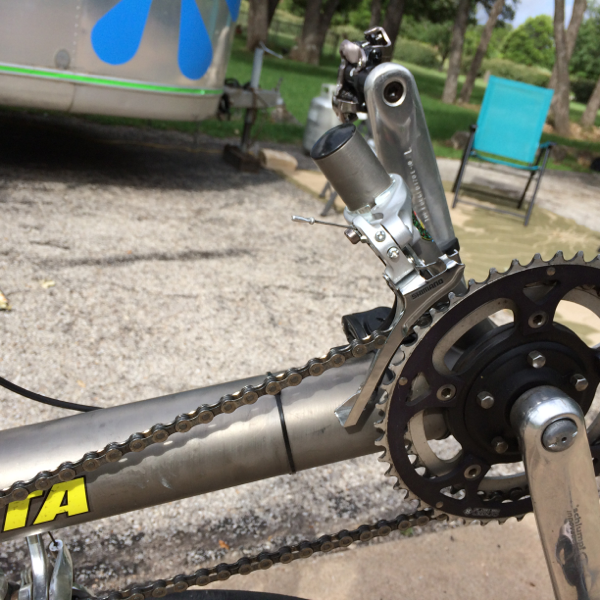
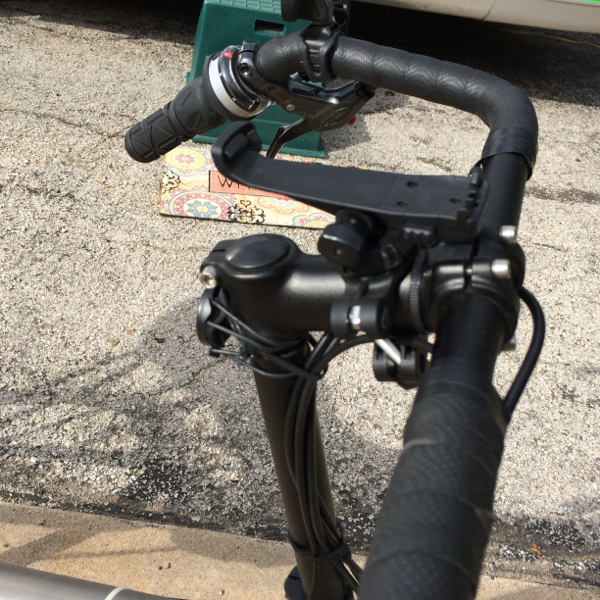
Removing the handlebars
Loosen the coupler at the bottom of the stem, remove the stem, rotate the handlebars and tape them to the frame. I use blue painters tape. Sticks good enough and removes easily later.

Here is my first mistake. Turns out that in order to get the handlebars (when taped to the frame) into the tube you need to also remove the stem from the handlebars and tape the handlebars to the frame such that the frame is centered in the middle of the bars. Don’t worry there are pictures of this below.

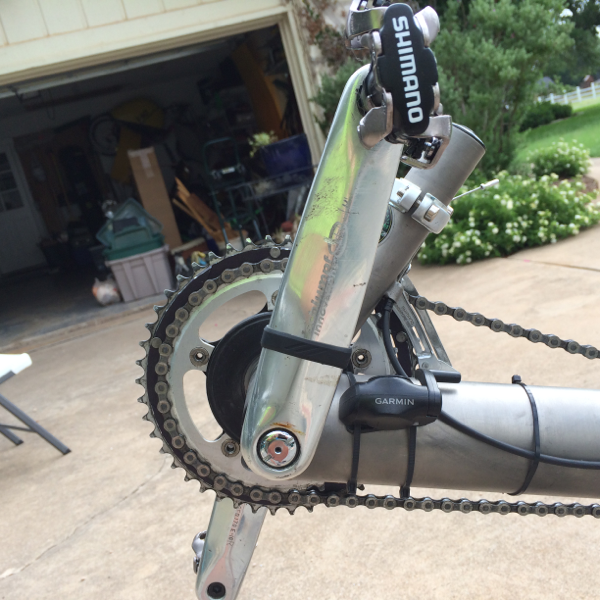
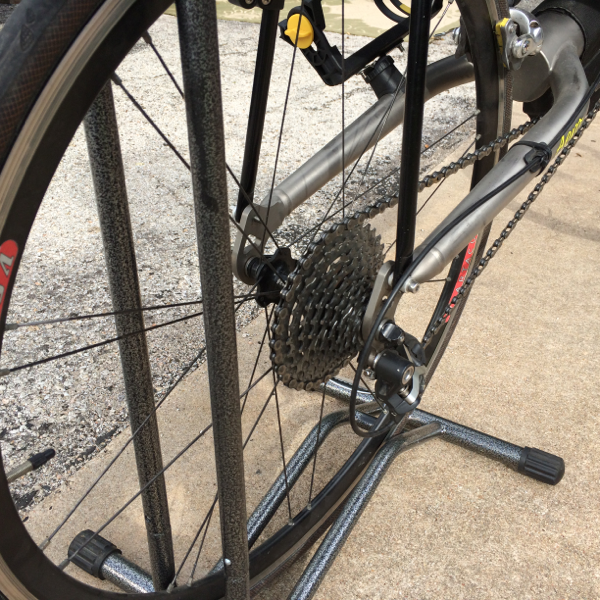
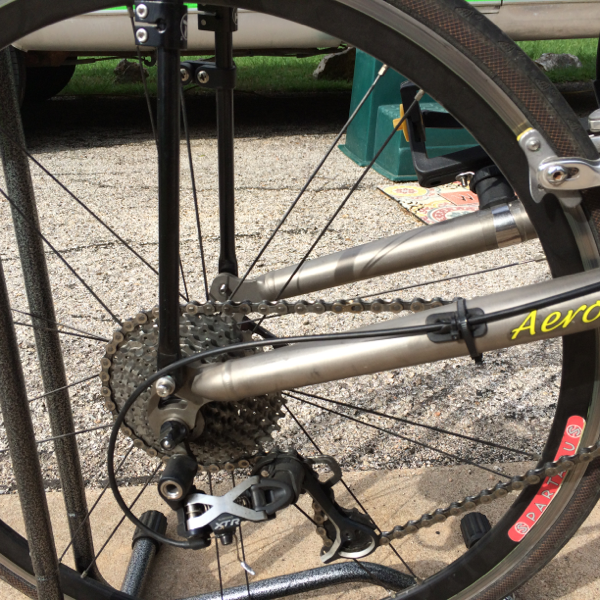
Removing the rear derailleur
Remove the rear wheel.
Remove the rear derailleur, wrap in bubble wrap and tape the derailleur to the inside of the rear frame.

Trial fix into Sports Tube
I made a couple of mistakes here.
The bike should be fitted first into the bottom tube (not the top like the pictures) - then the top tube just slides easily over the bottom.
I could not figure out how to get the front fork out. So I trial fitted as much as I could. Notice that I have lengthened the tape that holds the handlebars so that the frame is now centered in the bend of the handlebars.

Sliding in the assembly the handlebars with the stem attached are becoming a tight fit. Only later when I try to fit the assembly in the bottom tube do I realize that the stem must be removed from the handlebars to fit into the smaller bottom tube. (I show a picture of that later)

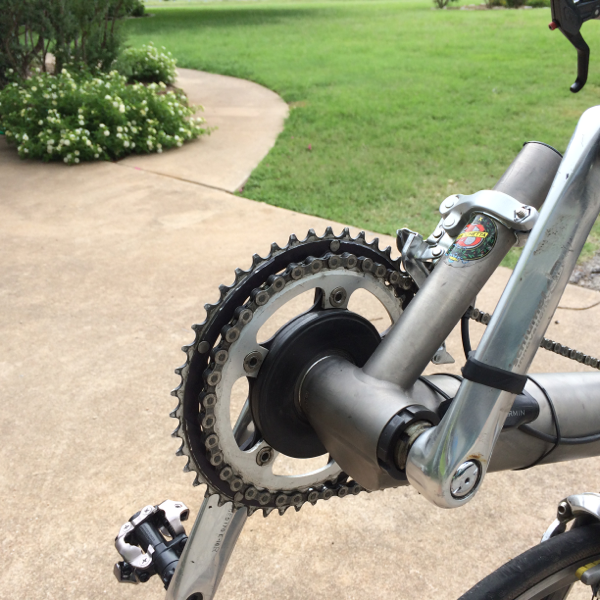
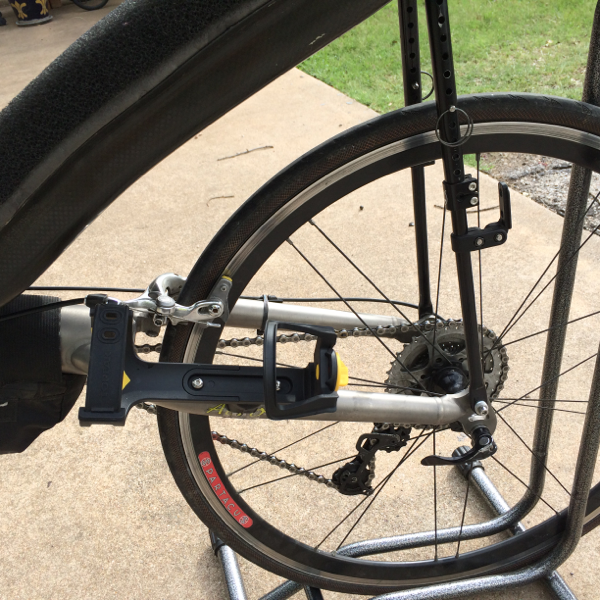
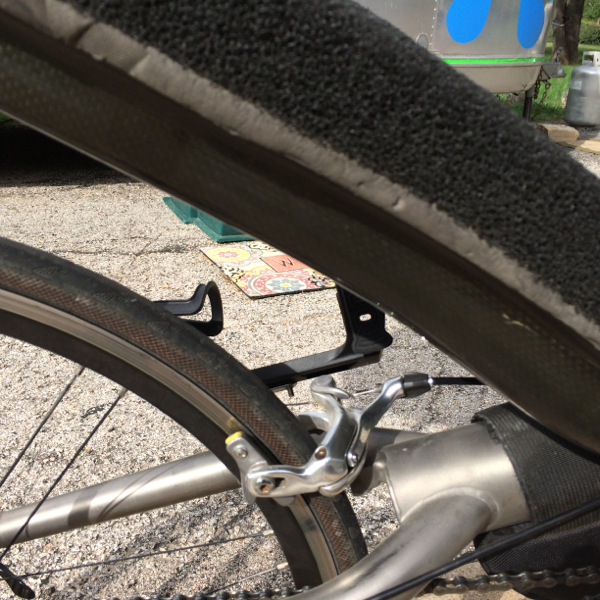
Removing the front fork
I had a hard time figuring out how to get the front fork off. Looking up online I discover that the front fork is held on by the Bacchetta Fine Tune (BFT) system. Loosening up the small set screw on the BFT allows it to just slide right off.
Be careful because the BFT is the only thing holding the headset bearings in place.

Here you can see that I used two tie wraps (one on each side) to hold the bearings in place on the frame.

Now that I have the front fork off it is time to wrap it in bubble wrap and tape to the frame.

Disassembly complete
The completed disassembly. Bubble wrapped and ready to put into the Sports Tube.

Trial fit top tube
Here I’m showing putting into the top of the Sports Tube. Only after getting it all in did I realize that in order to fit the two halves of the Sports Tube together you really need to initially fit the frame into the bottom of the Sports Tube first and then the top part just slides over the bottom.


Now I realize that with all the stuff in the top part of the Sports Tube I am not going to be able to slide the bottom inside of the top.

Trial fit bottom tube
Alright lets start over. Put the frame into the bottom part of the Sports Tube. But first put the X-Eye seat back bag into the bottom of the Sports Tube, then put the frame in chainring first.
Here I noticed that I really needed to remove the stem from the handlebars in order for the assembly to be able to slide into the bottom tube. Remove it and wrap in bubble wrap then tape to frame.

Accessories
Now start cramming everything you are going to need into the bottom sports tube. Shoes, clothes, tools, sunscreen, etc., etc..

Complete
Slide the top onto the Sports Tube.
The seat would fix into the tube but it was really tight and I was worried about it breaking during shipping. I’ll just take the seat and wheels with me on the plane.
